This home lab will focus on monitoring systems using SIEMs and being able to attack your systems using Kali Linux. This lab will be built in VMware’s virtual environment with a Windows 2022 server, PFsense, Splunk, Kali, Security Onion, and Windows 10.
Note: This lab pushes 30GB of RAM, but it can be lowered by taking out one of the SIEMS (Security Onion takes most of the RAM) out.
Kali will be used to attack the victim network (Windows 10 & Windows server 2022) and be able to view PFSense web interface. PFSense will be used to segment the network & create firewall rules. Security Onion is used for monitoring, threat hunting, and log management for the victim network. Splunk will also be used the same way but since both are so different it’s better to see the logged data in two perspectives. Windows server will be domain controller & Windows 10 will join the domain.
Vmware Topology
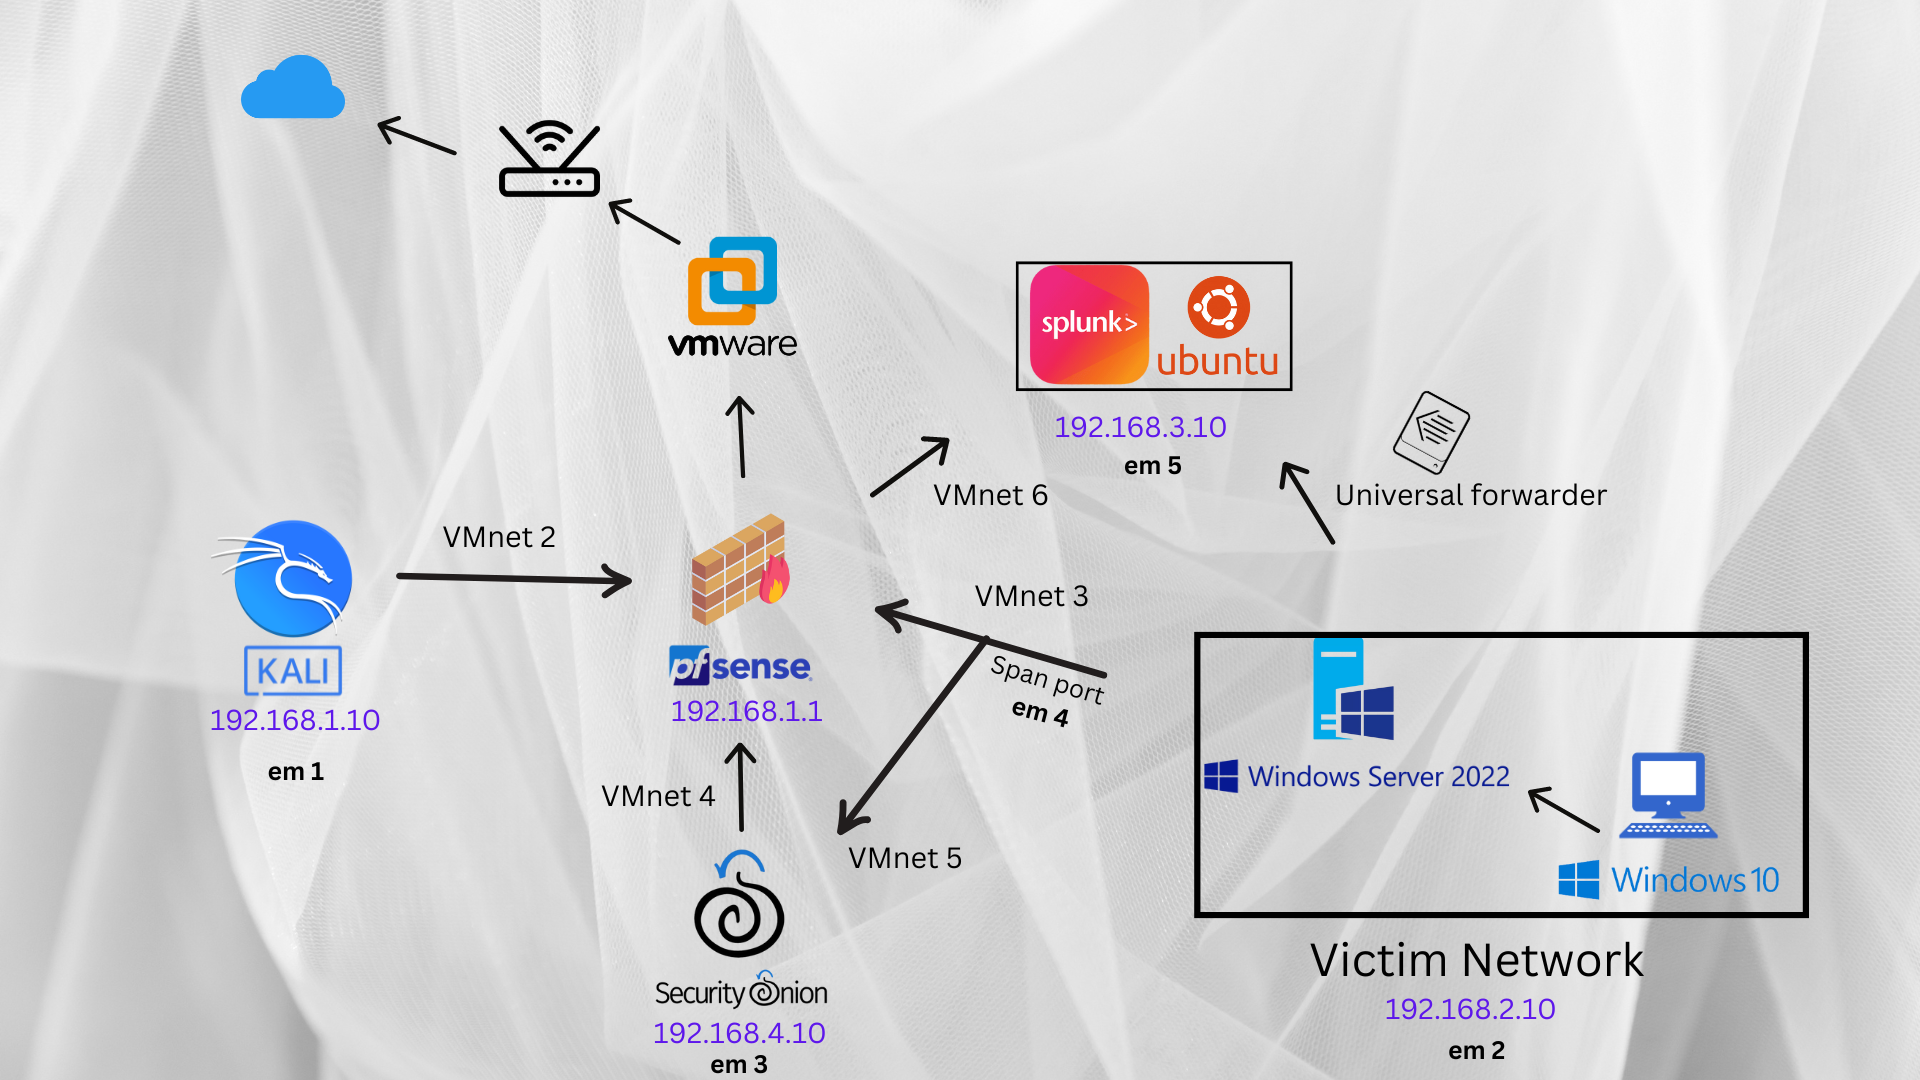
NOTE: em (number) means the interface name in Pfsense
ISO’s you will need (ALL FREE):
- Windows Server 2022
- Windows 10
- PFsense
- Ubuntu Server
- Security Onion
- Kali Linux
My pc specifications
Motherboard: B550 UD AC
CPU: AMD Ryzen 5 5600X 6-Core Processor
RAM: 32.0 GB
Part two of setting up the lab
Due to some troubles i’m having with the setting up the soc lab post I will be doing the last part in this blog. I will fix it but since I’m still trying to identify the problem i will post it here.
Installing the Universal Forwarder In Windows server
In Splunk VM sometimes splunk powers off so you’ll have to do (./splunk start)
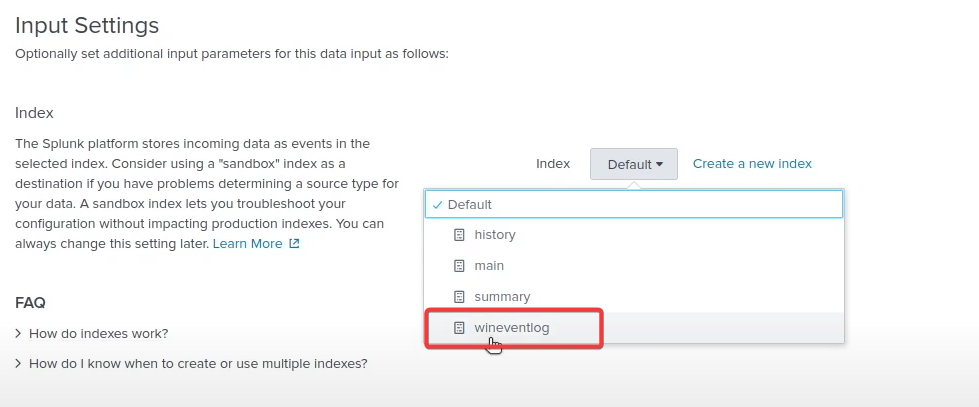
Once in the Splunk web interface go to settings >> Indexes >> New Index >> Index name: wineventlog >> save
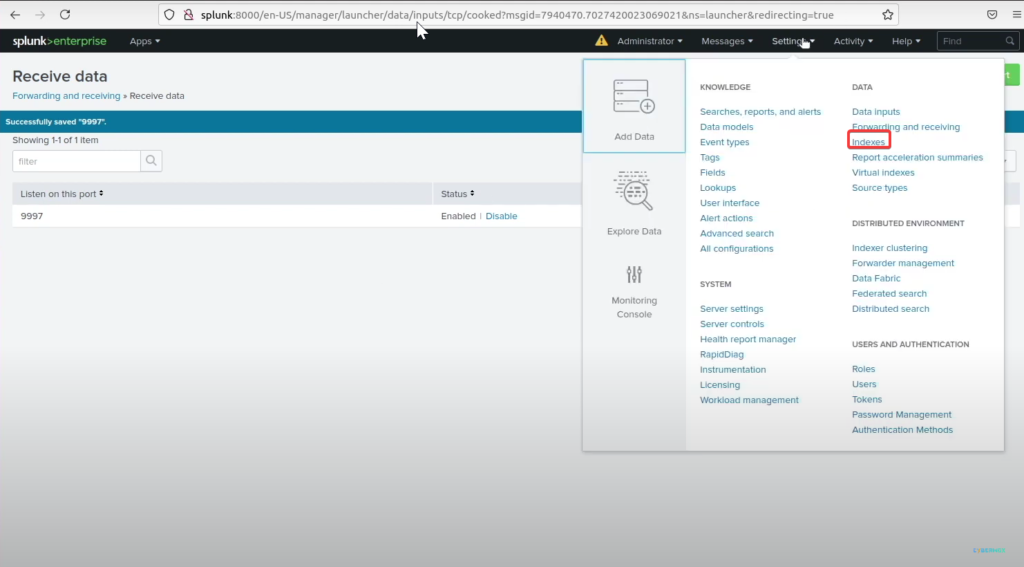
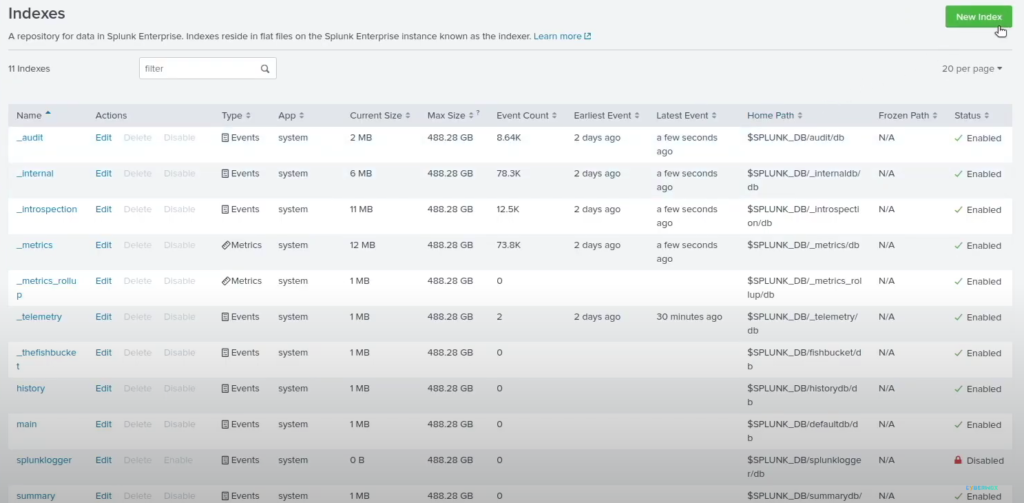
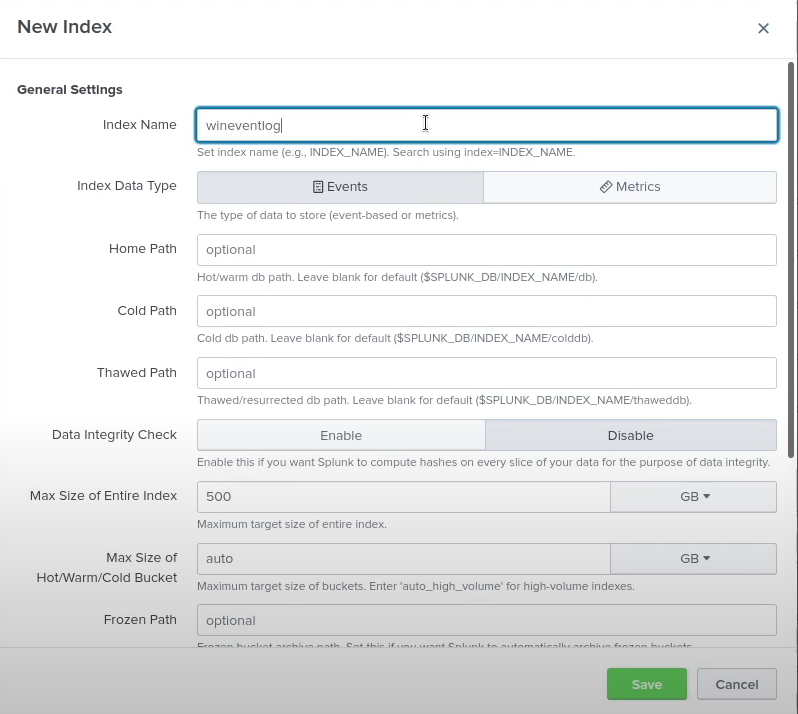
Before we continue, here are some problems I ran into the first time I made this lab
No internet on Windows server or 10 – Make a firewall rule in PFSense in the victim network for anything to pass. You also have to go to Server manager >> Tools >> DNS >> Right click on your server name >> Properties >> Forwarders >> Edit >> Add 8.8.8.8 >> Save
This will make it work.
Now that you have Internet head to Splunk.com on your web browser in Windows Server >> Sign in >> Download Universal forwarder >> Windows >> Windows Server >> Download
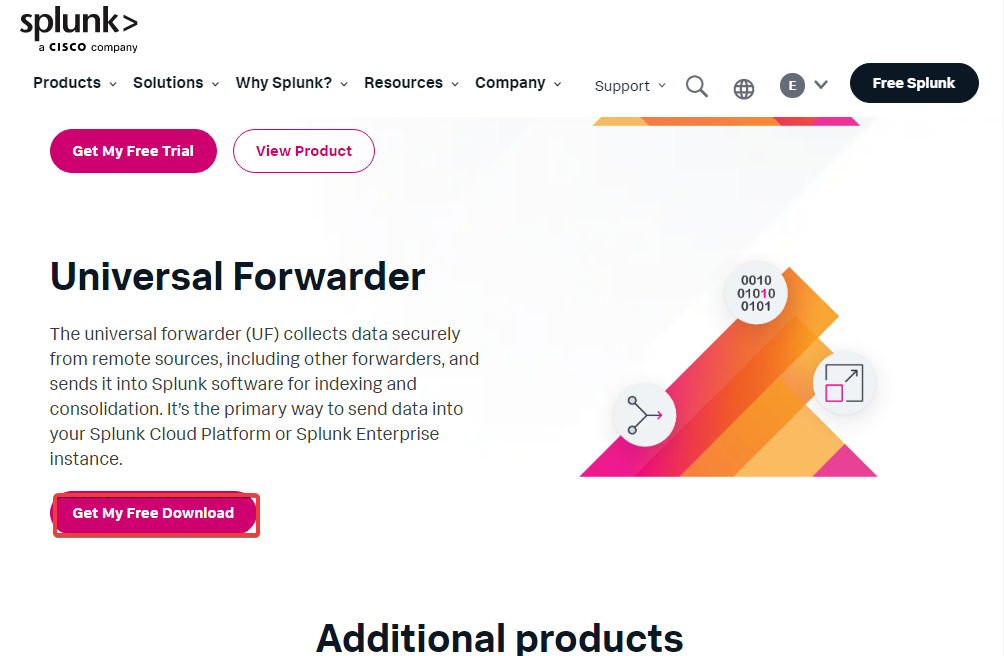
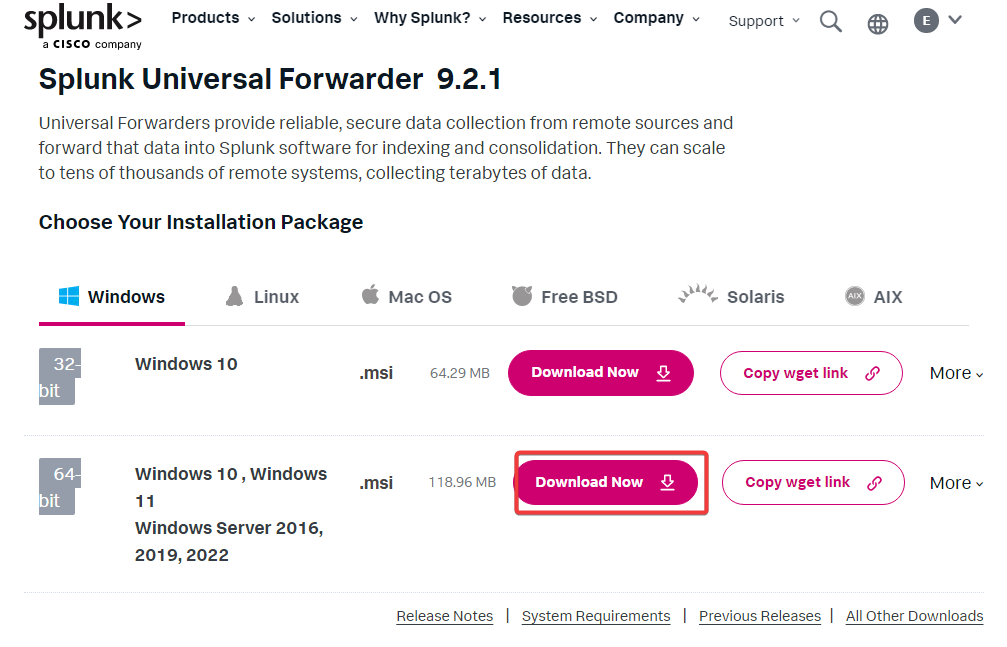
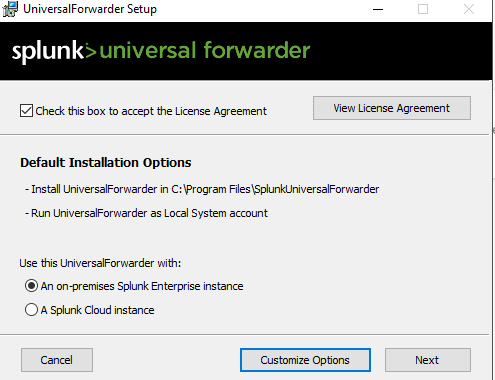
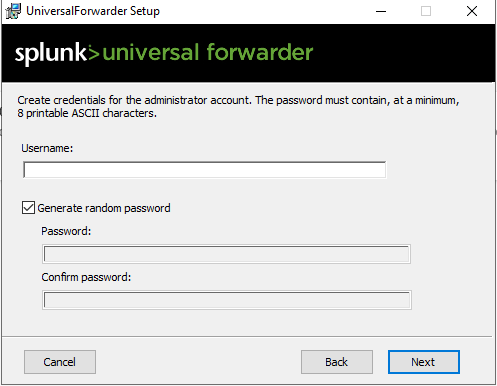
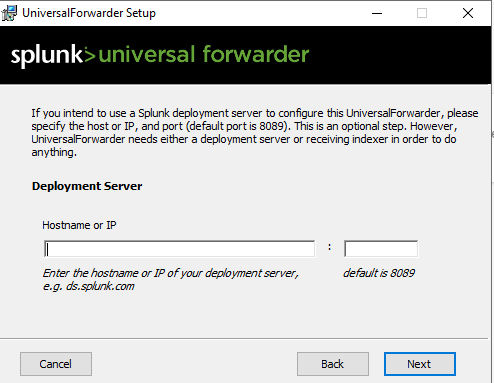
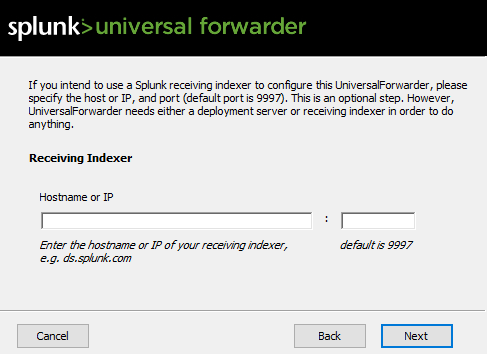
Once downloaded open it >> Agree to the license agreement & Select on-premise Splunk enterprise >> Click Next >> Use the same Username & Password as the Splunk interface >> In Deployment Server add the Splunks IP address & the port number will be 8089 >> In Recieving Indexer it will also be Splunks IP address & and the port number will be 9997 >> Install
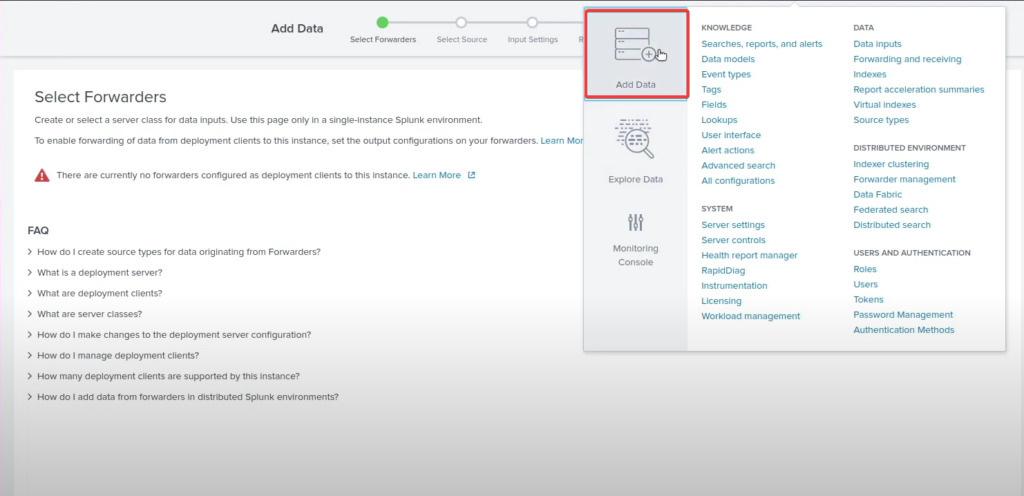
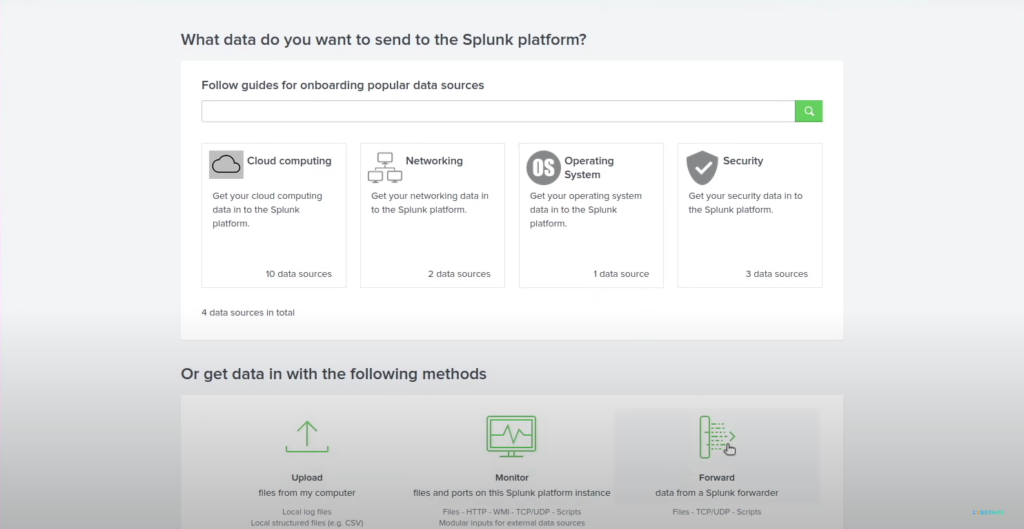
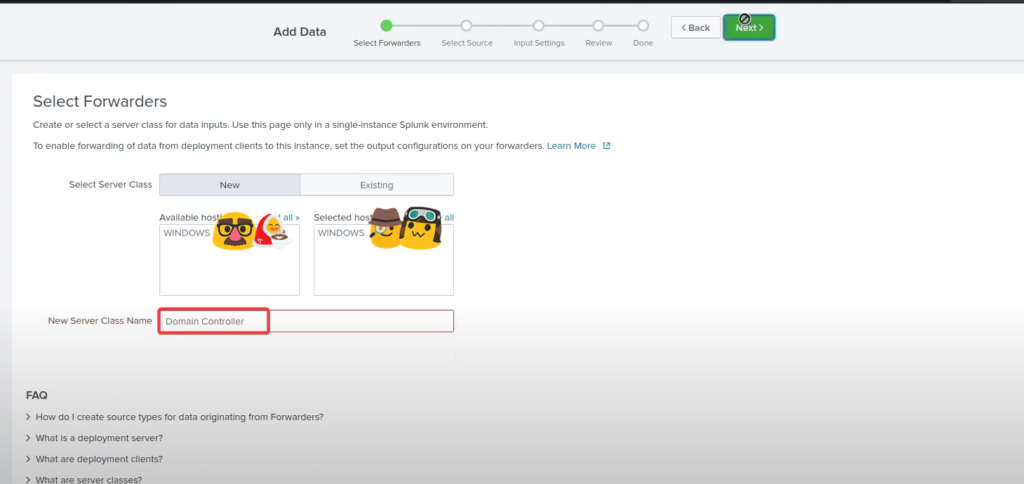
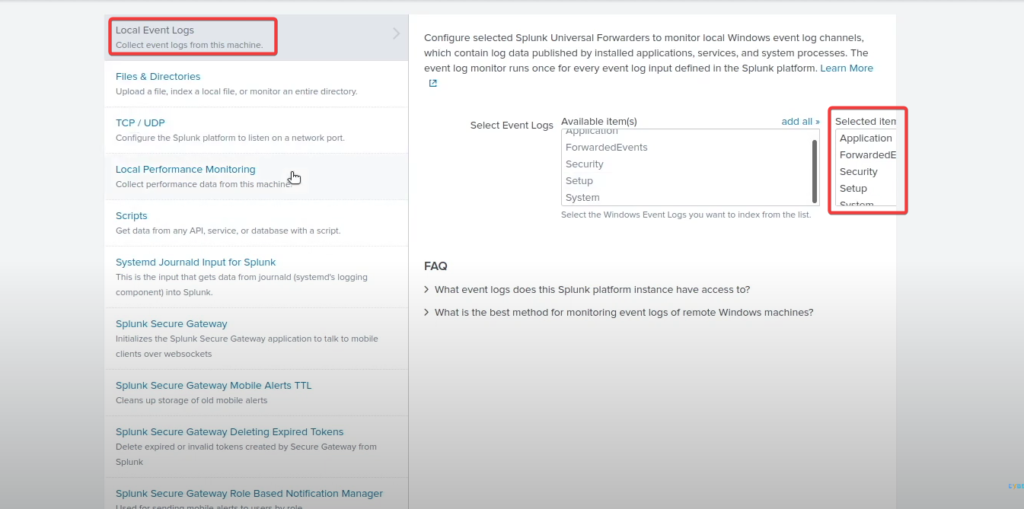
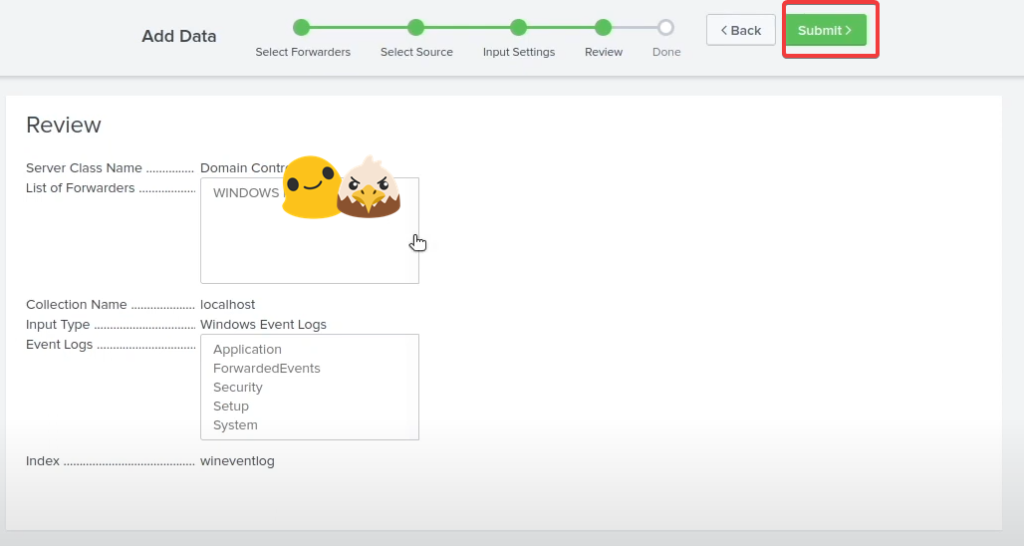
Go back to the Splunk Interface >> Settings >> Add data >> Forward >> Select you Domain name and add it to the existing & Name it Domain Controller >> Select local event logs >> Add all the settings in event logs >> Change input settings to “wineventlog” >> Submit
This is the end of the lab. I hope you enjoyed this lab.